
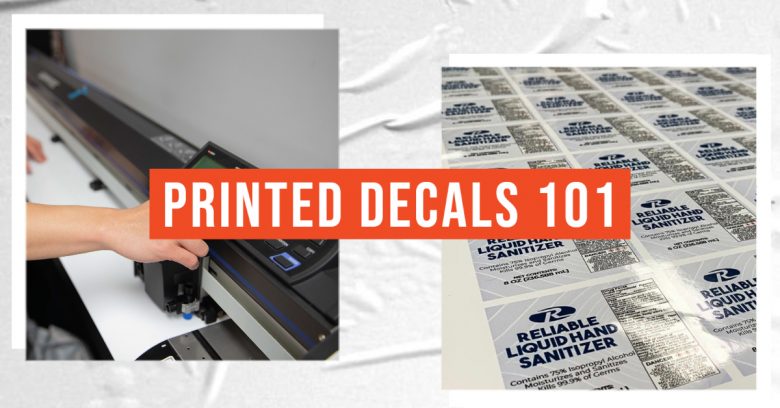
Producing printed decals is how many sign shops get started in the graphics industry. Nonetheless, if you’re just getting started or need a refresher, we worked with our Technical Expert, Louie Calma, to outline the basics of printed decals; from what blade to use to when you should vector vs rendor your project.
Design
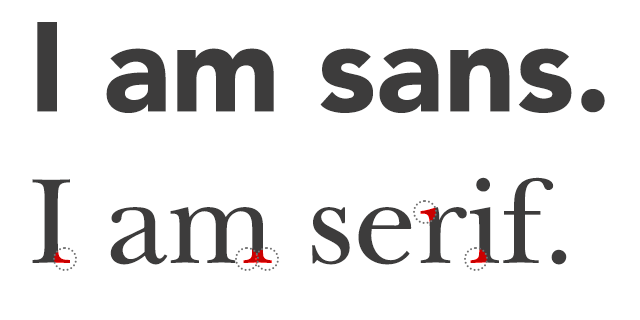
First, start with the design of the printed decal. If your decals have letters, consult a letter visibility chart for maximum impact. A rule of thumb is 10 feet viewing distance per inch height of the letter. For example, a 3-inch tall letter will be visible at 30 feet. Also note that if you are using the points (pt) system, 1-inch is equal to 72pt. However, if the sign or the viewer is moving, I would recommend 5 feet per inch with sans serif fonts.
Which blade to use?
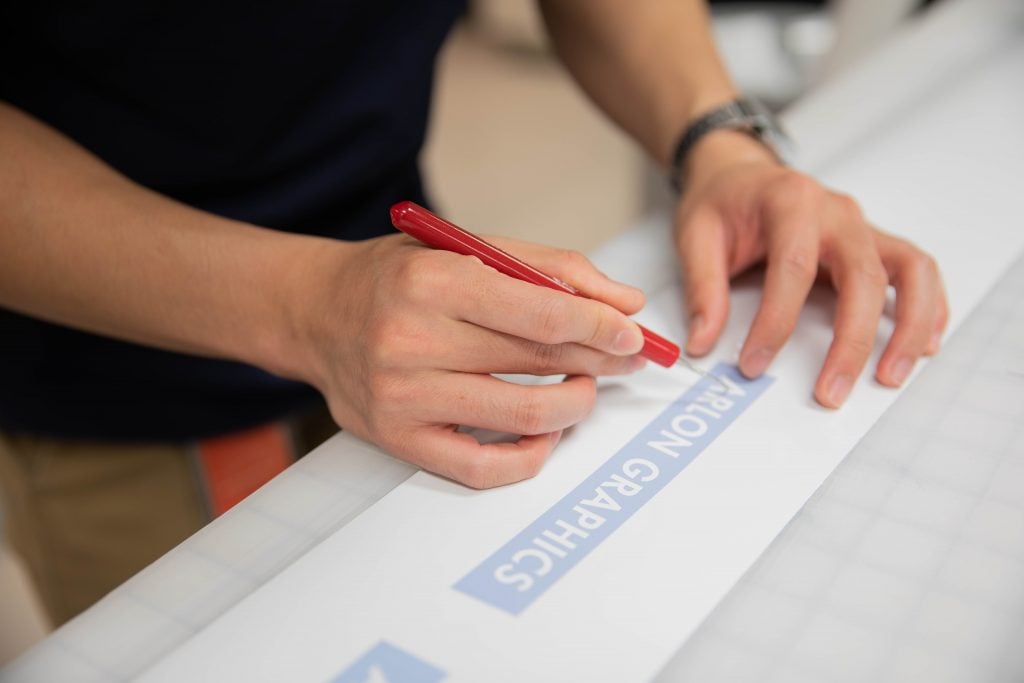
Make sure to consult your plotter’s manual for your a suitable blade for your project. In most cases, thicker overlaminates such as ProTec Series 3960 or reflective films require a specific blade. Once you have identified the correct blade for your project, make sure that both the blade and cutting strip are in good condition. Then, adjust the blade depth according to the thickness of your material. If you are cutting intricate shapes such as thin lines or pointed edges, check whether your cutter has a tangential or overcut function.
Check out this HUB post for tips and tricks on cutting and weeding small letters and decals.
Vector or raster?
Louie is a big proponent of favoring vectors over raster images, especially when it comes to cut decals. Of course, it is possible to create printed decals with a raster image by tracing its edges and setting that up as a separate cut layer. However, it’s important to make sure you simplify or smooth the cut path, so you don’t end up with zigzag cuts. It will also be faster because a smooth path is shorter than zigzag.
If you’re running different software brands for RIP and design, always look up the procedure on how to correctly set up a cut path layer. Here’s an article from Roland DGA, The Perfect Setup: File Preparation For Print/Cut Production.
Can I cut through the liner?
Most printed decals are produced by cutting through the liner instead of just the print film, where the liner remains intact. This process involves more than increasing the blade depth and cut force. Doing these two things will cut through the liner, but the decals will also fall out immediately. If this happens, it means that as you’re cutting, some or most of the pinch rollers will have no film to pinch that you will lose registration or worse.

If you must cut through the liner while keeping them intact till the end of the job, there is a cutting process called PerfCut or perforated cut. Rather than cutting a continuous path, the blade will “skip” and leave tiny tabs so that the decals will hold onto the sheet until you pop them out. Each brand will differ on how to set up this process, but here are some online resources:
- Roland DGA: Perf Cut using Roland VersaWorks and Illustrator
- Summa: How do you add more Flex to your Cut?
- Graphtec: Making a Perforated Cut on Q-Series (and Graphtec) Cutters
Which products should I use?
Arlon has a wide selection of products for your decal needs. For decals that are 4 inches tall or less, a film without air egress will suffice. Consider using air-egress films for larger or beginner-friendly decals.
DPF 510 is a typical product used for giveaway printed decals. DPF 4500 is your next choice for medium-term stickers like labels on standard surfaces. You can also consider using DPF 8200 High Tack for surfaces that need a high tack adhesive. Don’t forget to use an overlaminate to prolong the life of outdoor decals. Make sure to familiarize yourself with the print-lam-cut feature of your equipment.
