Tag Archives: wall graphics

Signage Wall Applications

Tips for Installing High Tack Wall Films

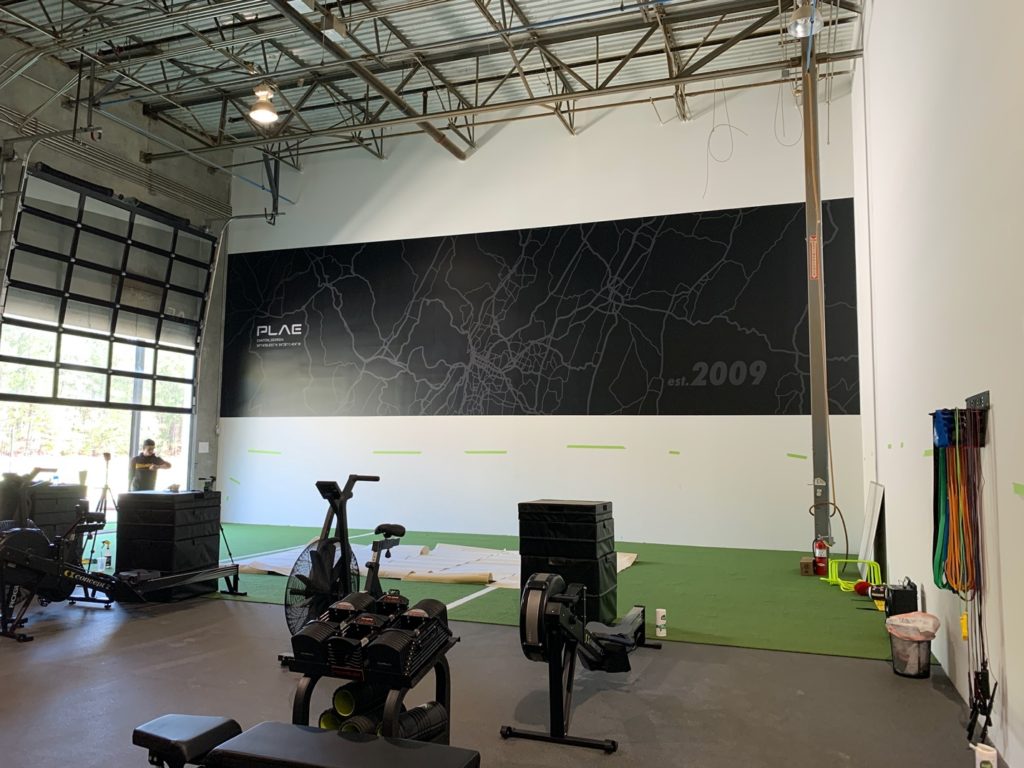
Wall graphics provide a great opportunity to increase your sign shop’s revenue; they’re mostly straightforward, the surfaces are relatively flat, and they are faster to apply compared to a vehicle wrap. But what about high tack wall films? Unlike other wall films, the tack of these films can create a unique set of challenges. The good news is, we are here to help with our application tips for installing high tack wall films. 

Application Tips

Use an Overlaminate

When it comes to walls, the thickness of a high tack film is your friend. Although tackiness is primarily a feature of the adhesive, increasing the film’s thickness will stiffen it. A stiffer film will help reduce pre-tack and prevent pre-stretching.

Thoroughly Clean the Surface

Although some contaminants on the surface may ease the installation process by reducing the tack of the product, you also run the risk of the film failing prematurely.

  1. Clean the surface by first brushing it dry to knock off loose dirt. Follow it up with a wash either with a sponge and soapy water for painted smooth walls or power washing for exterior textured walls. NOTE: Soap works best as a degreaser because isopropyl alcohol does not wash off oils or grease.
  2. Rinse and let the surface completely dry.
  3. For painted smooth walls, wipe the surface with a 50% water/alcohol solution with multiple and heavy passes on the top, bottom, and side edges.

Aim For The Right Surface Temperature

The ideal surface temperature is between 65°F – 90°F (18°C – 32°C). It’s essential to stay the optimal application temperature range for the best performance, but we understand that’s not always a possibility. When applying in colder climates, the risk of the film tearing or shattering is very high. One of the best ways to avoid these issues is to take your time ensuring the proper alignment; this way, you won’t have to reposition the film risking a tear or shatter.  When applying in hotter climates, timing is key. Avoid the hottest hours of the day and apply when the sun is down or in the shade.

Dry-fitting and Registration Marks

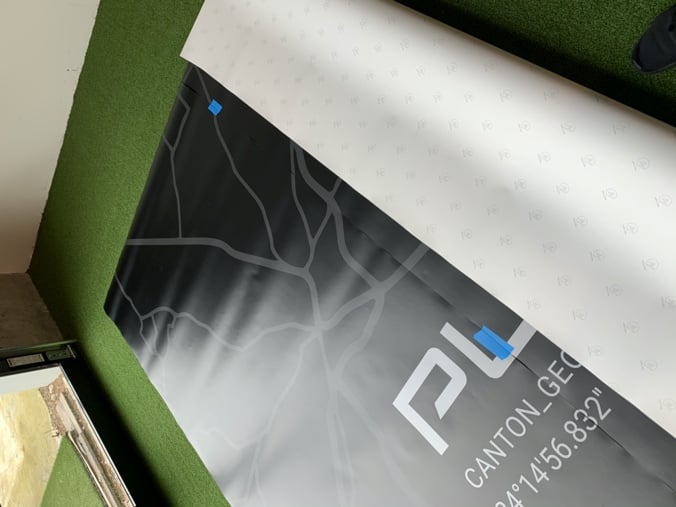
Dry-fitting refers to taping up the panels onto the wall without removing the liner. This step allows you to preview the location of each panel and adjust if necessary. Once all the adjustments are made, create registration marks with a water-soluble pencil or tape.

Identify Your Key Panel

In some cases, the first panel does not have any of the design elements to be a proper reference for the remaining panels, like a text that needs to be level with the floor. Consult the mockup to identify your key panel and apply that first. For a more in-depth look into identifying panels, read our  Basic Guide to Registering Vinyl Graphics.

Consistent Technique

Having a consistent technique will help you avoid mistakes when applying a high tack film. There are several ways to start your panel–hinge, half-moon, full liner rip, etc.–but whichever method you use, make sure to use the same method and at the same distance from the top edge one for the remaining panels.

Support the Film’s Weight

Most installers just leave the bottom half of the film hanging as they apply the top half. The problem with this approach is the film’s weight will slowly stretch it without you noticing until it’s too late. Here’s a simple setup with a tube cut in half and zip-tied onto the scissor lift:

Site survey and the Wall/Building Questionnaire

The wall itself can also hinder the application because it has special paint that makes it not receptive to adhesive. So when surveying the site, make sure you use our wall/building questionnaire to aid you in determining the correct product(s) for your project.

Using the right application tips and proper setup will help alleviate any challenges you might have when applying a high tack film. If you’re looking for the right film for your next wall wrap, we’ve got you covered from hard-to-stick surfaces like brick, stucco or concrete to flat wall applications.

Get money back on wall wraps! From now until July 31st, we’re running our Essential Rebate promotion to learn more about what product qualify in your region click the links below.

Get money back on high tack wall films! From now until July 31st, we’re running our Essential Rebate promotion

USA/Canada

Australia/New Zealand

Share This:

Read More
Wall Applications

Basic Guide to Registering Vinyl Graphics

Registering vinyl graphics can make applying multiple panels across a large graphic laborious. The good news is, we’re here to make your life easier! Today, we’re covering the fundamentals for registering vinyl graphics from creating the perfect registration mark to removing the liner. Here is it, our Basic Guide to Registering Vinyl Graphics.

Key Terms

We have outlined key terms that you will need to know to better understand how to register vinyl graphics.

  • Bleed – excess print that is trimmed away when the film is cut to final size.
  • Substrate Size – the size of the area to be applied on a substrate.
  • Skew – the wall or substrate, is level, square, etc.
  • Overlap – the amount of film that covers the next panel.
  • Registration Point – Easily identifiable, unique shape/line along the edge of a print in the overlap.
  • Key Panel – starting panel, usually determined by key graphic element or edge of the panel.
  • Tack Point – tape or exposed adhesive that will hold the panel to the wall or substrate during registration.

Registering Vinyl Graphics 101

Registering vinyl graphics, when used in wide format printing means, to adjust to secure exact correspondence. Printed graphics are designed to fit a specific substrate, but large graphics will have multiple printed panels requiring you to register/align your graphic to a substrate before installation.  But, why is registering appropriately critical to a successful installation? If not appropriately navigated, registering panels will take longer, then applying the panel or require removal and reinstallation. Knowing how to register your graphic properly will lower application time and increase quality and efficiency.

How to Register Vinyl Graphics

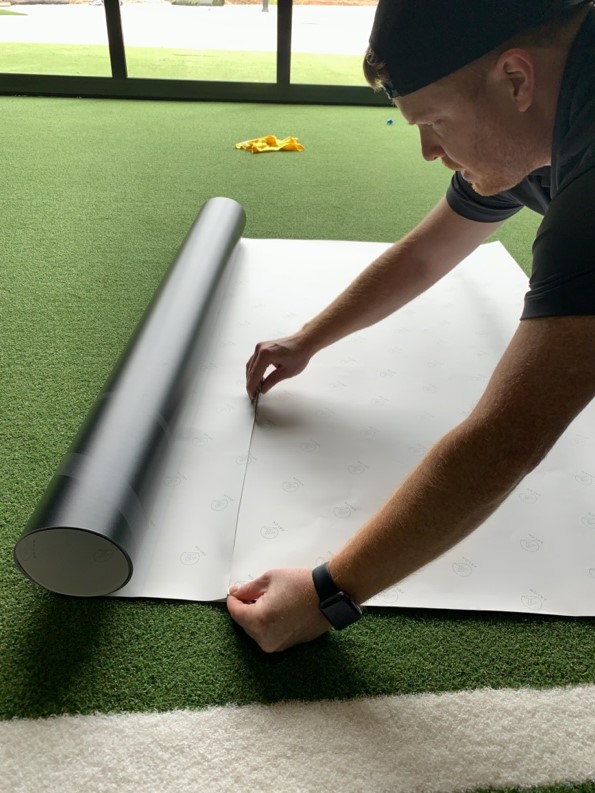
Step One – Layout and lineup your graphic by each panel on a clean table or flat surface, or two panels at a time, space allowing.

Step Two – Identify three registration points on each overlapping edge of the panels, a high, middle, and a low on the panel and fit them together.

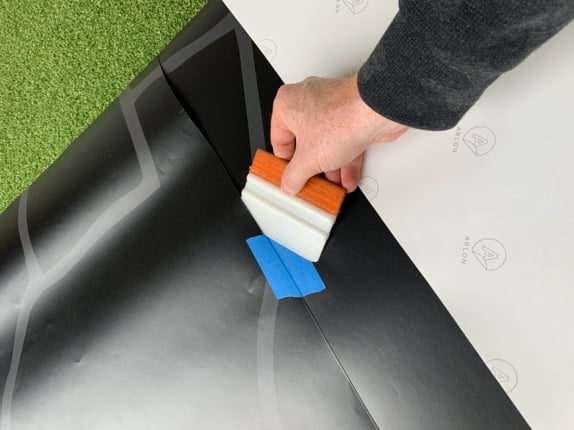
Step Three – Use tape or a Stabilo pencil to make marks near the registration point. Tape works best and can be cut with a squeegee to release and maintain marks. The tape now becomes your general registration point.

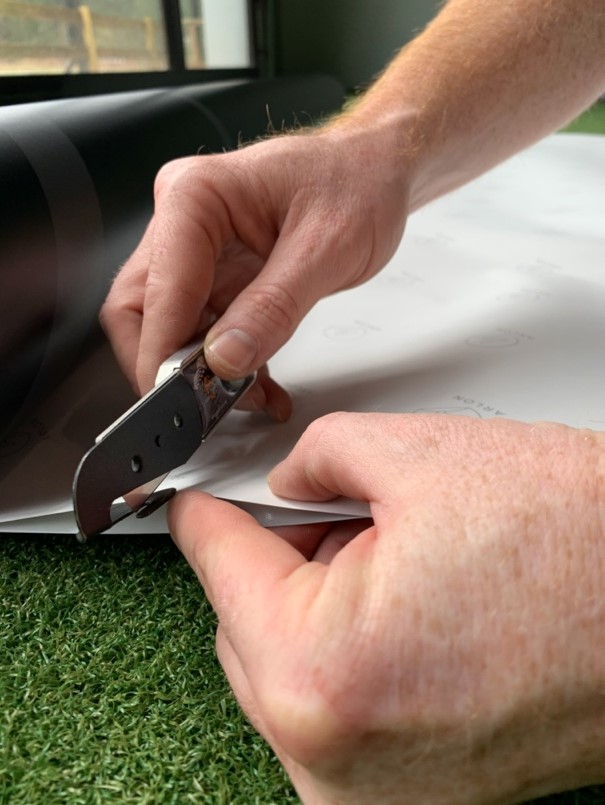
Step Four – Using a liner knife, make a single cut in the liner 3″ – 5″ (7 cm – 13 cm) below your high registration point. This should be done prior to mounting to the substrate.

Step Five – Using tape or exposed adhesive, fit your key panel to the wall or substrate right above or below your registration marks. If you use the area of the registration marks, you run the risk of removing the mark or distorting the film with the registration mark on it.

Step Six – Once the panel is fitted with no tension, release any lower tack points of the panel and pull the liner from the liner slit just under the first registration or tack point. Pull the liner tight against itself with even tension.

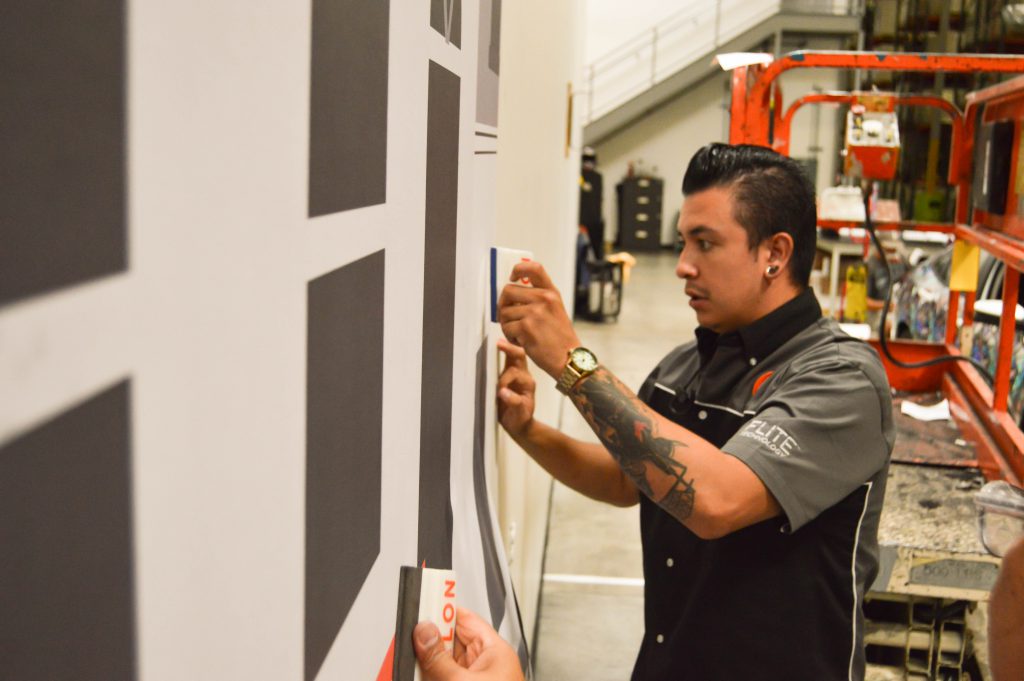
Step Seven – Once you have exposed 8″ – 10″ (20 cm – 25 cm) of adhesive while pulling the liner, begin application at the point of the liner slit. Work down the panel and then remove the liner and apply the upper 15-20% of the panel.

Step Eight – Remove the visible registration marks and repeat the process for each remaining panel.

As you can see, the proper registration of vinyl graphics can save you time, frustration, and increase your productivity.

Are you installing wall graphics? Before you take the above steps on vinyl graphic registration, make sure you watch our video on how to test your wall for media compatibility.

Share This:

Read More
Wall Applications

Pre-Installation Steps for Wall Vinyl Applications

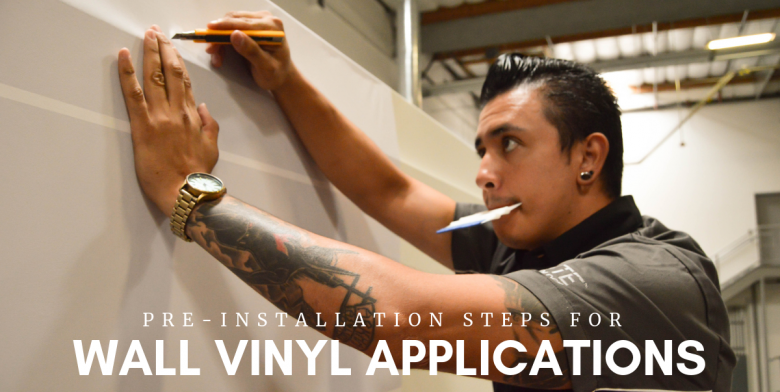
With ease of application and the ability to turn a plain wall into a memorable display, digital printable vinyl has become the new decorating trend for interior and exterior walls. Wall installation may seem straight forward, but wall graphics come with a unique set of challenges. Take the below pre-installation steps into account to help ensure your next wall installation is a success.

Surface Preparation

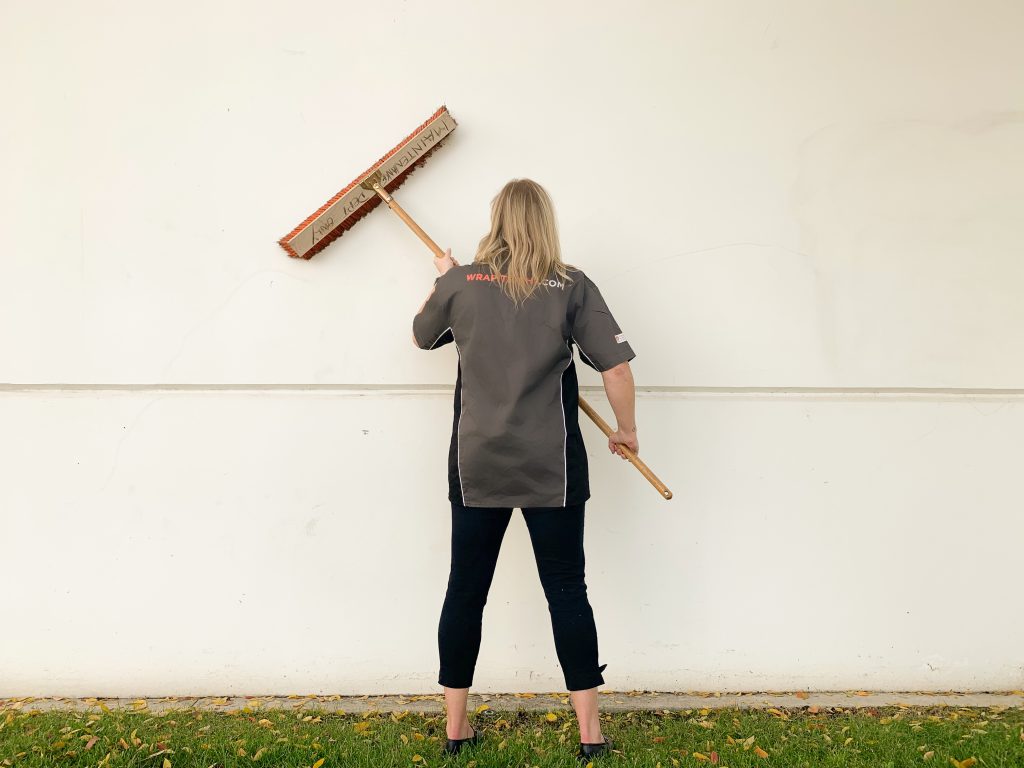
Before using a vinyl to wall compatibility test it’s important to guarantee that the surface is free of loose dirt and particles; brush off all spider webs, remove aggregate or dirt from the grout lines and wall with a broom. For interior walls, clean off all the loose dirt with a wet low-lint towel and use Isopropyl alcohol to wipe the wall down. Taking this step will make for a clean slate to conduct a compatibility test.

Pre-installation tip: Brush off all spider webs, remove aggregate or dirt from the grout lines and wall with a broom.

The Importance of a Wall/Paint Compatibility Test

There isn’t a one size fits all for wall vinyl. With hundreds of different surfaces, it’s important to conduct a site survey before deciding if the wall can be wrapped and what vinyl you need to use.

After determining that the integrity of the wall is solid, the next step is to identify the type of paint on the wall. Details to consider for this step are: Is the paint on the wall compatible with the vinyl that will be applied? How long has the paint been on the wall? How many layers of paint are there? During the application, will the vinyl peel off any paint if repositioning is needed? These are all important points to consider since most of the low or zero VOC paints or all-in-one paint and are no longer compatible with most PSA films due to the additives that are added in the paint formulation.

After the wall compatibility test you'll be ready to install.

Out Gassing the Printed Film Prior to Lamination

If the film is printed with solvent or eco-solvent based inks, allow the film to outgas for 24 hours prior to lamination and installation. Trapped solvent in the film will make the vinyl film soft making it more difficult to install. Trapped solvent will also impact the adhesive bond strength to the wall.

Using the Right Tools

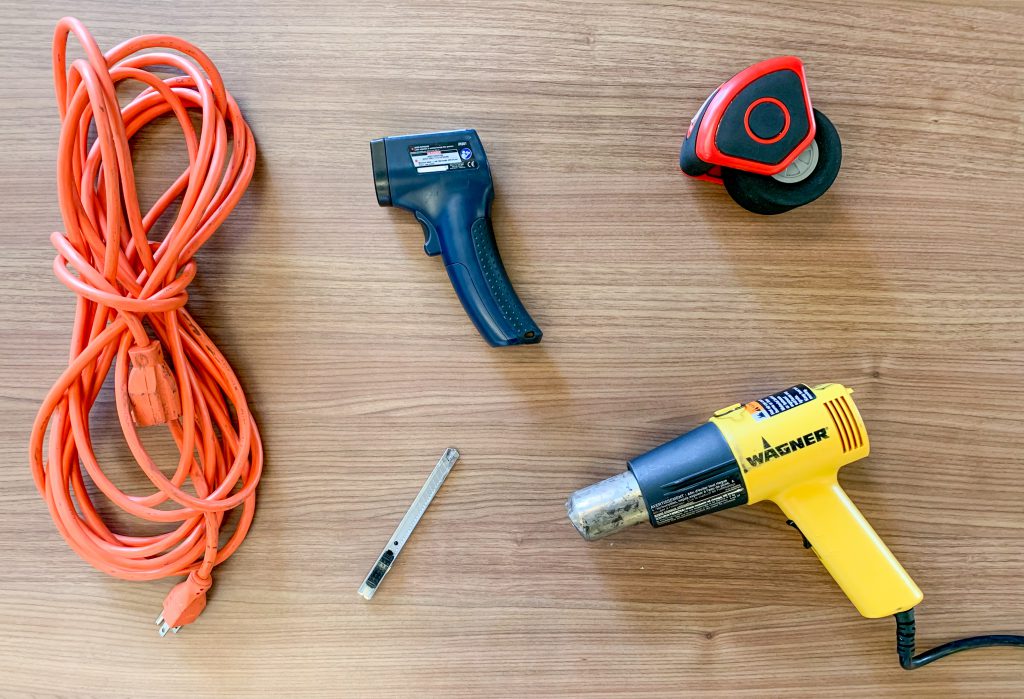
For installing wall wraps we recommended using a heat gun, extension cords, cutting blades, RollePros, and an IR thermometer.

Pre-installation tip: We recommended using a heat gun, extension cords, cutting blades, RollePros, and an IR thermometer

No matter what the deadline is for a project, don’t rush; take all the pre-installation steps to ensure your next wall installation will be a success.

Share This:

Read More
Translate »