
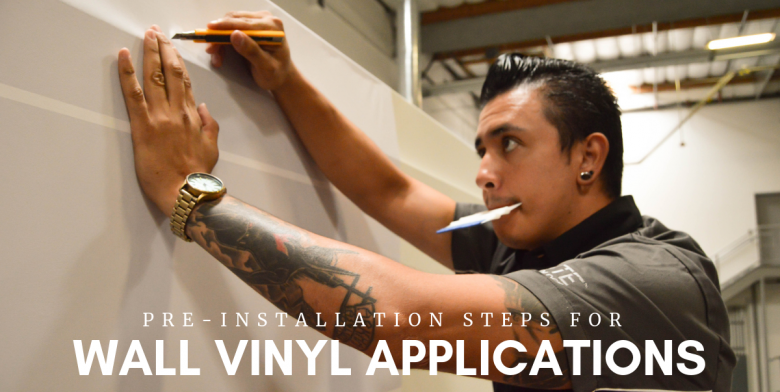
With ease of application and the ability to turn a plain wall into a memorable display, digital printable vinyl has become the new decorating trend for interior and exterior walls. Wall installation may seem straight forward, but wall graphics come with a unique set of challenges. Take the below pre-installation steps into account to help ensure your next wall installation is a success.
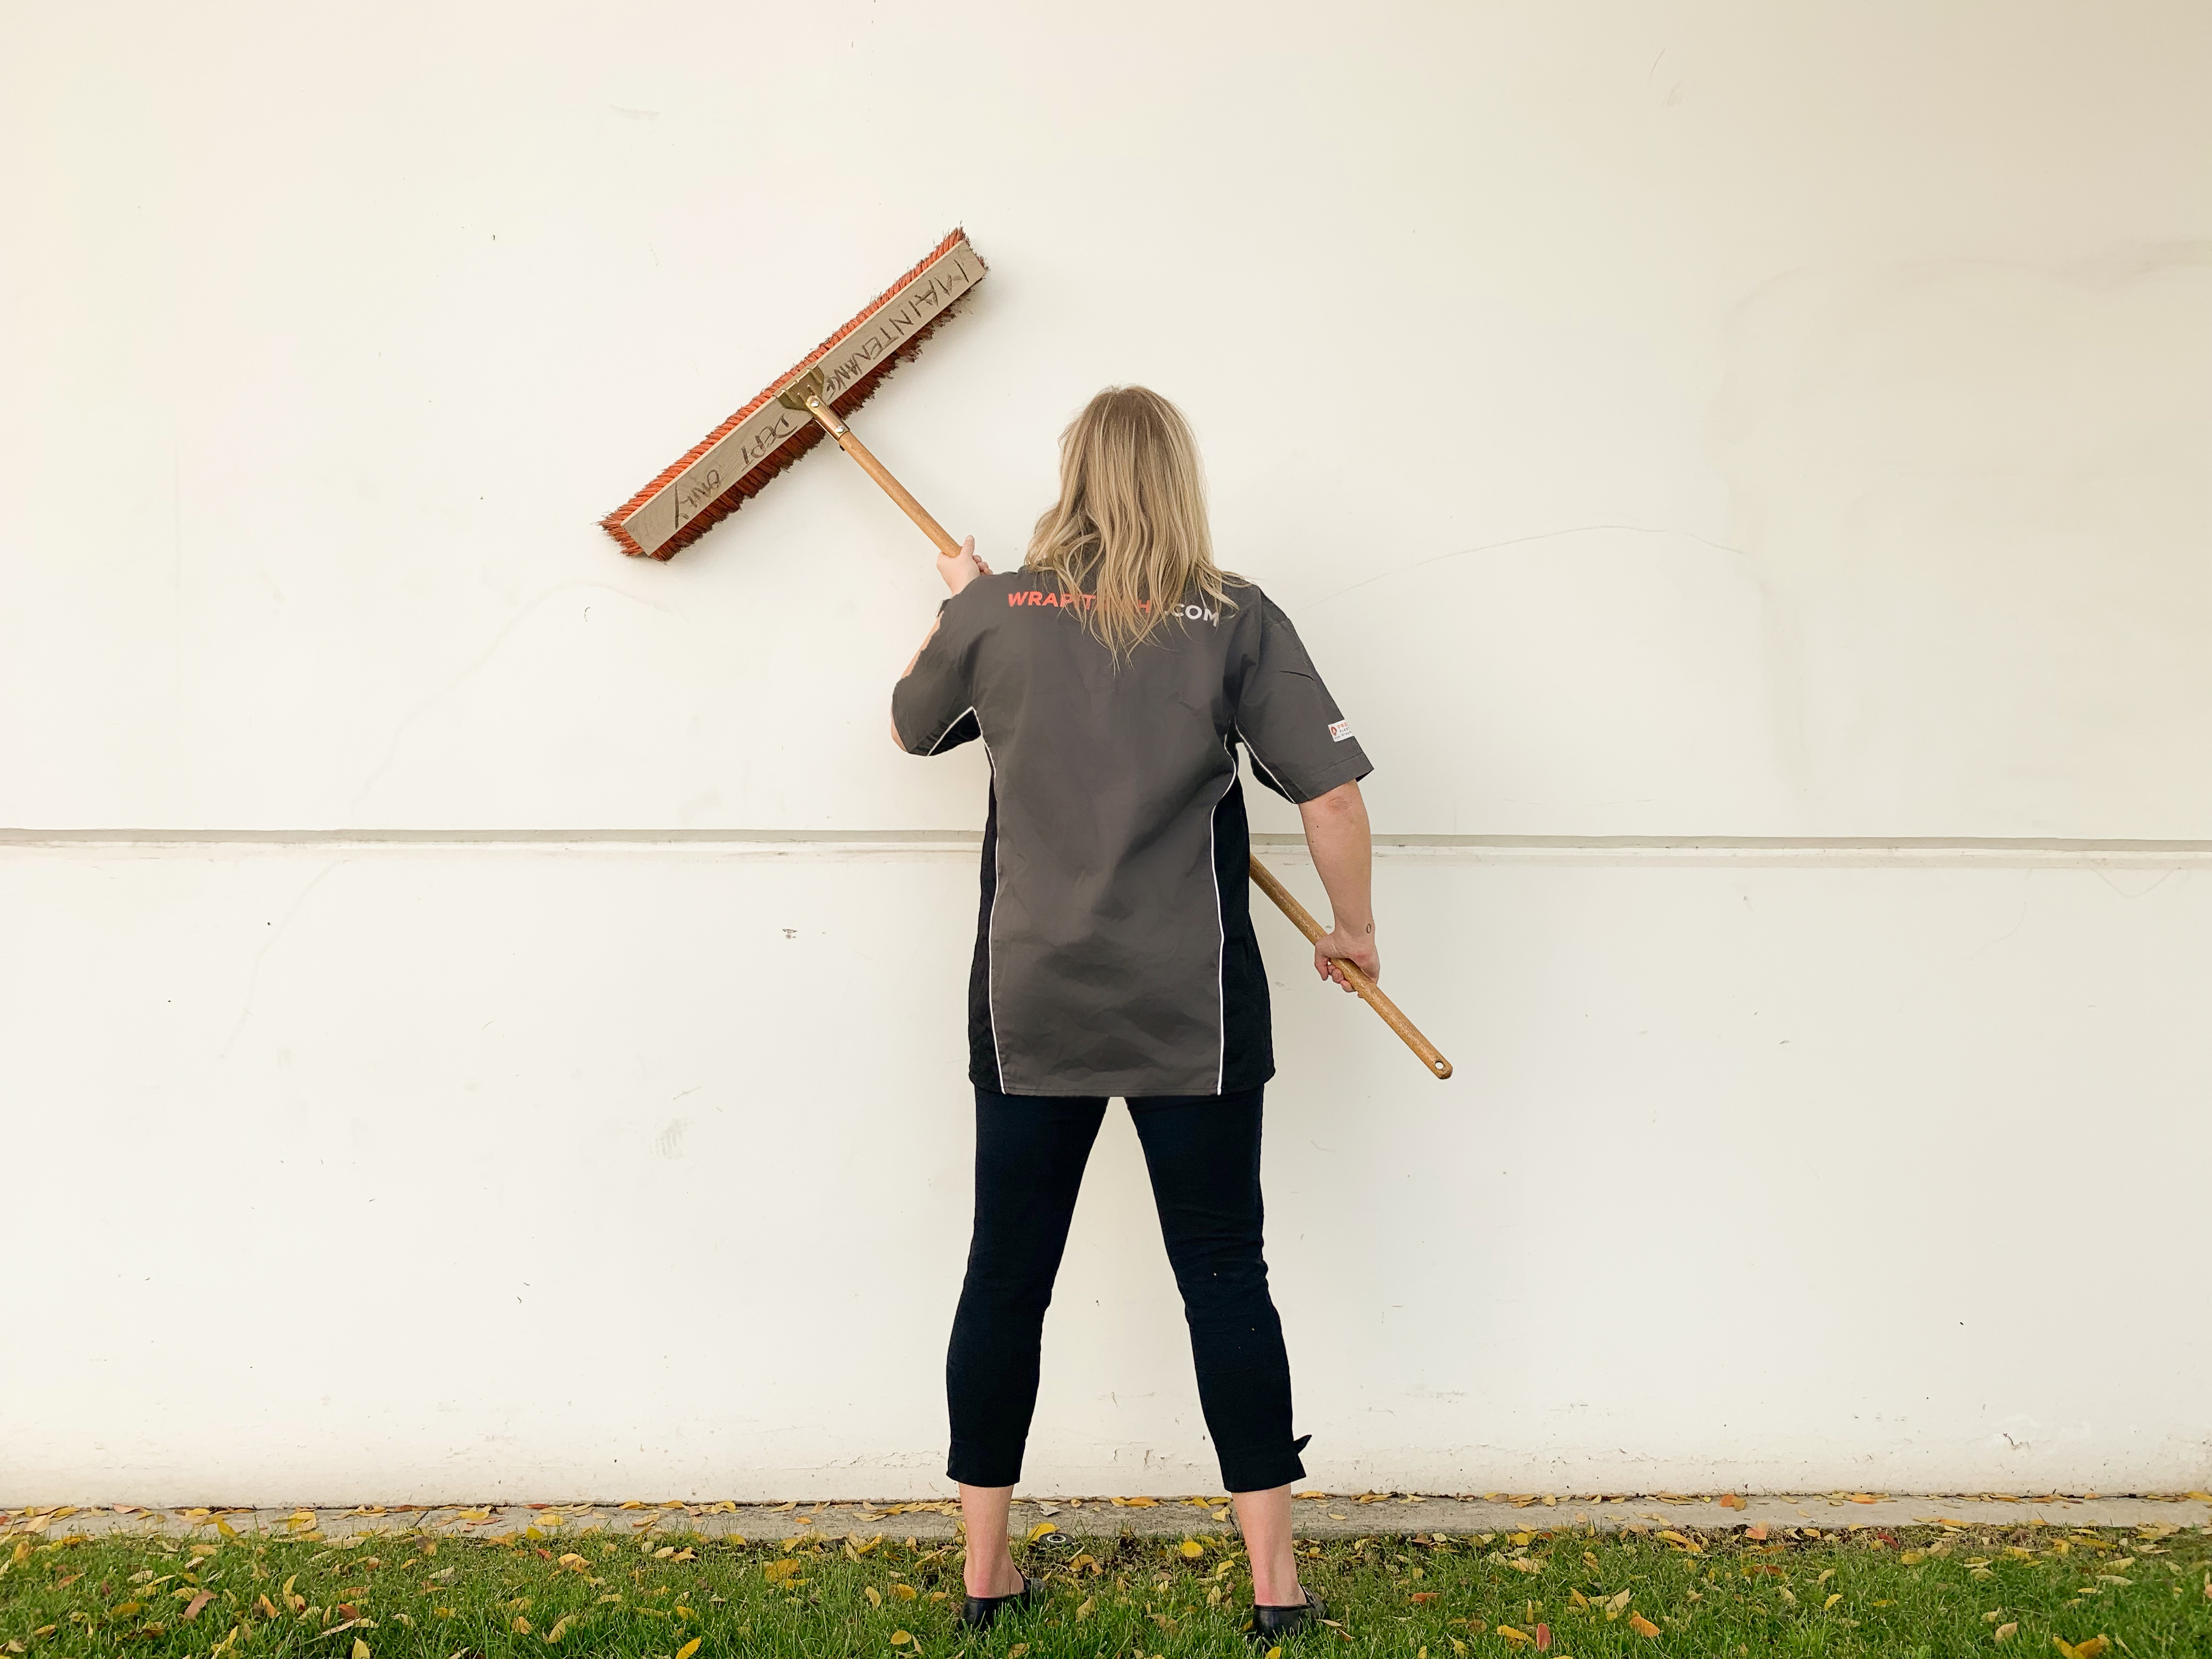
Surface Preparation
Before using a vinyl to wall compatibility test it’s important to guarantee that the surface is free of loose dirt and particles; brush off all spider webs, remove aggregate or dirt from the grout lines and wall with a broom. For interior walls, clean off all the loose dirt with a wet low-lint towel and use Isopropyl alcohol to wipe the wall down. Taking this step will make for a clean slate to conduct a compatibility test.
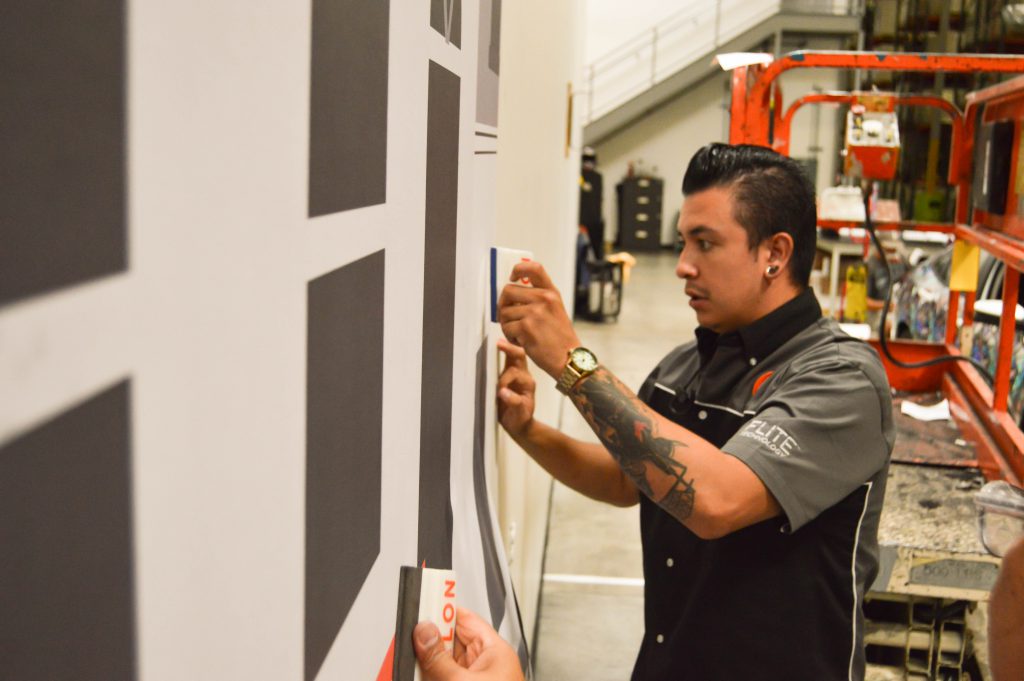
The Importance of a Wall/Paint Compatibility Test
There isn’t a one size fits all for wall vinyl. With hundreds of different surfaces, it’s important to conduct a site survey before deciding if the wall can be wrapped and what vinyl you need to use.
After determining that the integrity of the wall is solid, the next step is to identify the type of paint on the wall. Details to consider for this step are: Is the paint on the wall compatible with the vinyl that will be applied? How long has the paint been on the wall? How many layers of paint are there? During the application, will the vinyl peel off any paint if repositioning is needed? These are all important points to consider since most of the low or zero VOC paints or all-in-one paint and are no longer compatible with most PSA films due to the additives that are added in the paint formulation.
Out Gassing the Printed Film Prior to Lamination
If the film is printed with solvent or eco-solvent based inks, allow the film to outgas for 24 hours prior to lamination and installation. Trapped solvent in the film will make the vinyl film soft making it more difficult to install. Trapped solvent will also impact the adhesive bond strength to the wall.
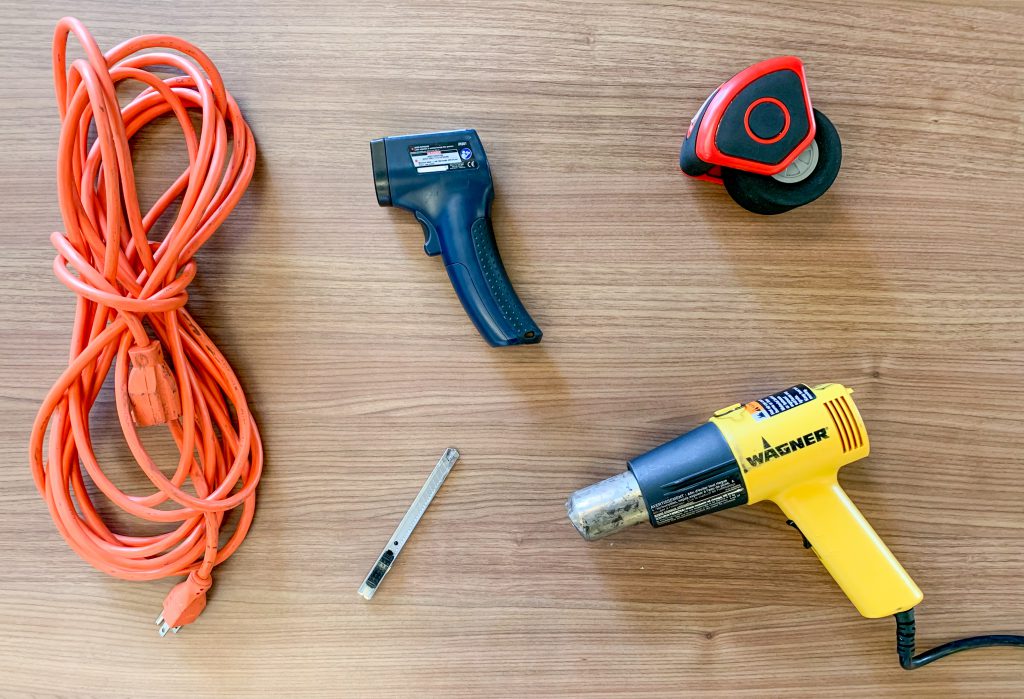
Using the Right Tools
For installing wall wraps we recommended using a heat gun, extension cords, cutting blades, RollePros, and an IR thermometer.
No matter what the deadline is for a project, don’t rush; take all the pre-installation steps to ensure your next wall installation will be a success.

Great info for beginners for sure
Thanks James!