Tag Archives: signs

Digital Printing Signage

How to Mount Graphics on Large Substrates

How to Mount Graphics on a Large Substrate

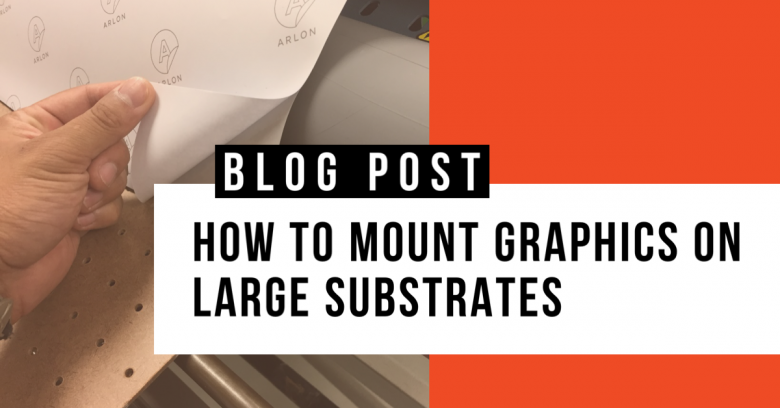
In digital printing, UV printers and HP Latex R-Series now can print directly on a substrate, making mounting graphics on large substrates a thing of the past. Yet, not every sign shop will make that type of investment, and the alternative of mounting graphics on large substrates can be a challenge. To help this part of your application process, we’ve created a step-by-step guide on how to mount graphics on large substrates.

Step 1

Set up the laminator so that the rigid substrate is supported from the front and back. I’ll be using the platen of the UV printer (the flat part of the printer where the media rest during printing) to support the substrate as it feeds into the laminator and the table to catch the finished product.

Step 2

Open the nip all the way up and feed the substrate into the laminator in reverse.

You might be wondering: “Why not just use the UV printer to print directly on that 4’X8’ pegboard?” Good question! We didn’t print directly on the board because there is not enough space behind the printer to fit the substrate.

Step 3

Dry fit the graphic on the substrate to make sure that the graphic is positioned correctly relative to the substrate.

Step 4

Place a weight over the graphics and fold about 25% of the graphic’s leading edge.

Step 5

With a liner back slitter such as the YelloTools’ BodyGuard Knife -Teflon, cut a 2” strip hinge and remove the liner strip.

Step 6

Fold the leading edge back onto the substrate and apply the strip hinge with a squeegee.

Step 7

Manually feed the pre-mounted graphic into the laminator until the strip hinge is just past the nip rollers. The UV printer’s platen is only used to support the substrate.

Step 8

Square the substrate with the laminator, close the nip, and peel off the liner below the hinge strip.

Step 9

Run the laminator forward and carefully remove the liner by grabbing it as close to the middle for even tension.

Step 10

Once you reach the end of the substrate, rotate it 180° and feed into the laminator just past the strip hinge.

Step 11

Repeat from step # 9 and apply the remainder of the graphic. Trim excess film.

When mounting graphics for large signs, a little creativity can go a long way. Now that you know the steps, you’re ready to go out and mount those signs.

Share This:

Read More
Translate »